12 Piriformis Stretches To Relieve Hip And Leg Pain
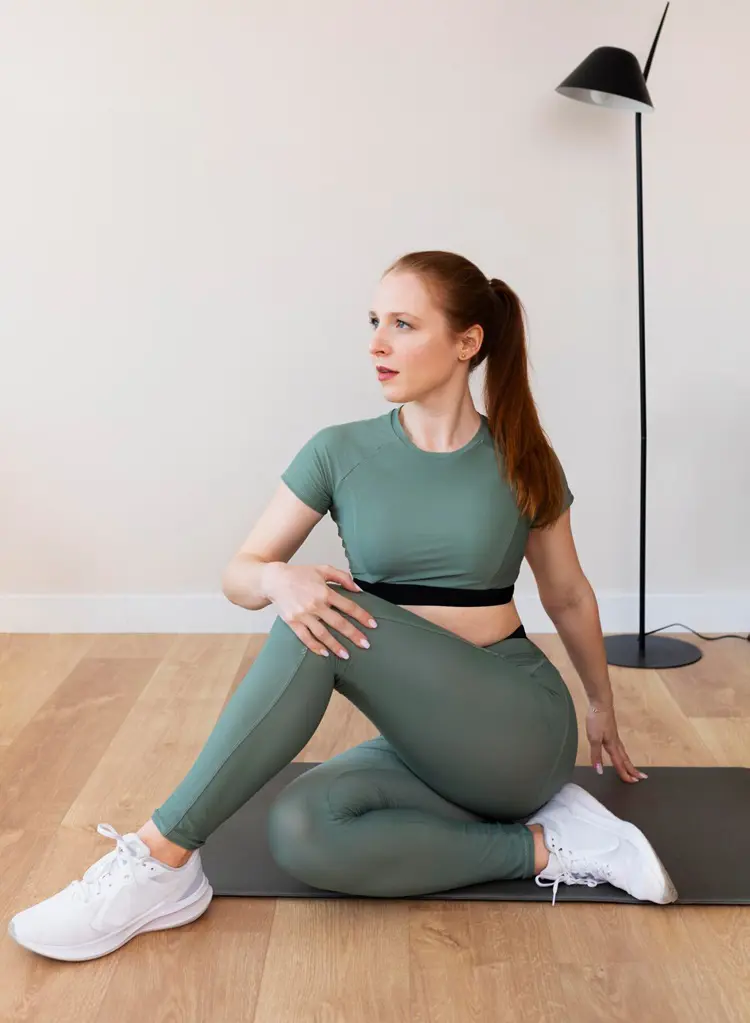
When the piriformis muscle tightens or becomes inflamed, it often results in severe pain in the hip and leg, leading to Piriformis Syndrome. In such cases, some targeted stretches can help relieve the pain.
Practicing the piriformis stretches also increases the range of motion and flexibility of the lower body. So, let's dive into the 12 best stretching exercises that you can incorporate into your daily routine:
1. Piriformis Foam Rolling
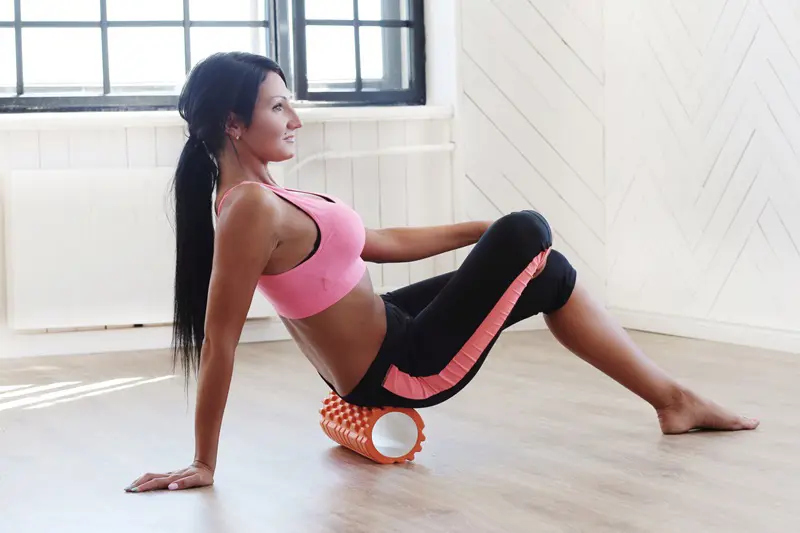
Let's kick things off with Piriformis Foam Rolling. This fantastic stretch relieves pain in the hip and legs. The foam roller lessens tension and increases mobility by applying direct pressure to the hip.
You will be able to loosen stiff muscle fibers and encourage blood flow by gently rolling over the piriformis area.
Steps To Do It:
- Sit on a mat with the foam roller under the glute. Cross the left ankle over the right knee.
- Put the hands behind for support and keep them with fingers pointed backward.
- Lift the hips off the ground slightly by shifting the body weight forward.
- Start rolling the body back and forth over the foam roller.
- Avoid rolling over the thigh and lower back (only focus on the glute area).
- Change sides after 2 to 3 minutes and work on the other hip.
2. Cross-Body Piriformis Stretch
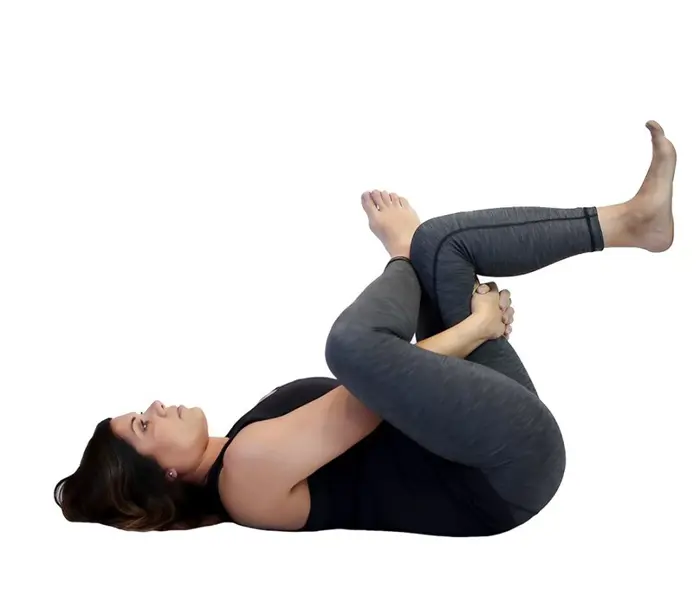
If your hips or glutes ever feel tight, the cross-body piriformis stretch is your go-to exercise. Practice it on the floor or even in bed to start the day. This stretch pulls your leg across your torso and relaxes tight muscles.
It is ideal for feeling a little lighter on the feet and moving with greater ease.
Steps To Do It:
- Lie on the back on a comfortable mat by extending both legs.
- Bend the right knee towards the chest. Then, softly pull the right knee across the body with your left hand.
- Keep your shoulders down on the mat and your right arm out to the side.
- Hold the stretch for 20-30 seconds.
- Now, move across to the other side and complete the desired number of reps.
3. Clamshell
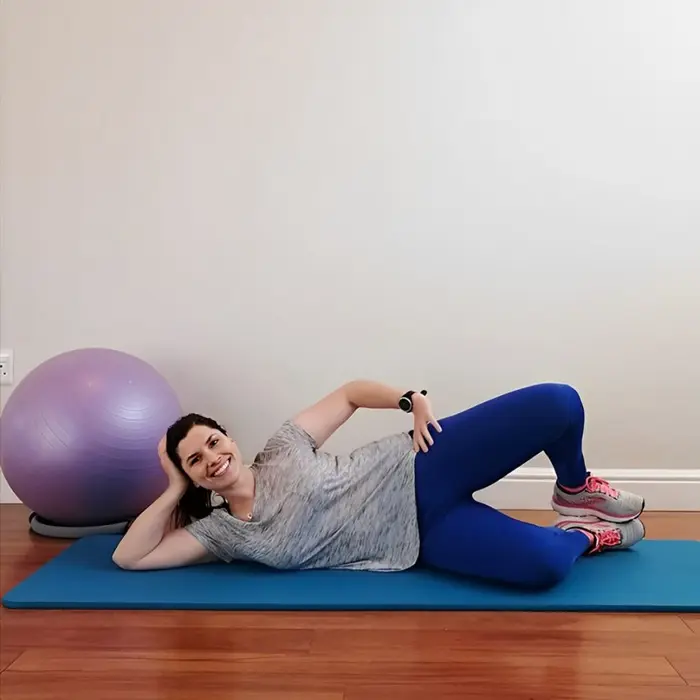
The clamshell exercise is also excellent for strengthening the piriformis and hip muscles. It's a great way to enhance your outer hips and glutes without spending money on expensive equipment.
Steps To Do It:
- Bend the knees to a 90-degree angle after lying on your side.
- Put the upper hand on the waist for balance.
- Rest the head on the lower arm and engage the core.
- Lift the top knee as high as you can without letting your hips rotate.
- Feel the contraction in the glutes as you hold a brief moment at the top.
- Slowly lower the leg down and flip sides after performing 15 to 20 times.
4. Glute Bridge
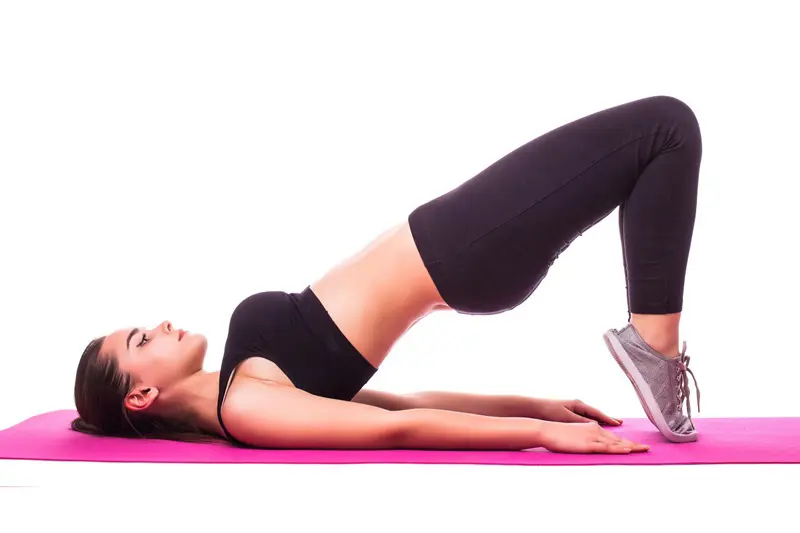
Just like the clamshell, the Glute Bridge is a common exercise for piriformis muscles that are executed on the floor. It is a perfect workout for the hips and spine because it works both the lower body and core.
Properly contracting your glutes will help you avoid overworking your lower back during this workout.
Steps To Do It:
- Begin by lying on the back and placing the feet flat on the floor.
- Place arms at the sides with palms facing down.
- Engage the glutes and press the palms into the floor.
- Afterward, lift the hips towards the ceiling until the shoulders and knees come into a straight line.
- Make sure not to hyperextend the lower back and briefly pause at the top.
- Slowly return the hips to the starting position.
- Make sure to focus on moving with control and keeping your glutes active.
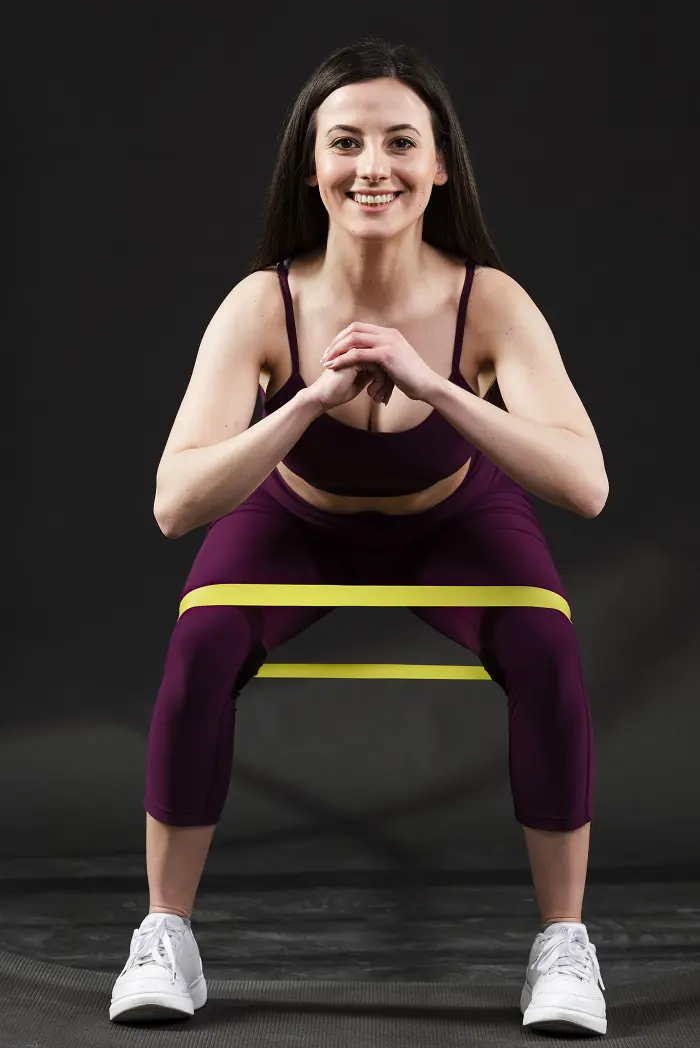
5. Small Range Squat
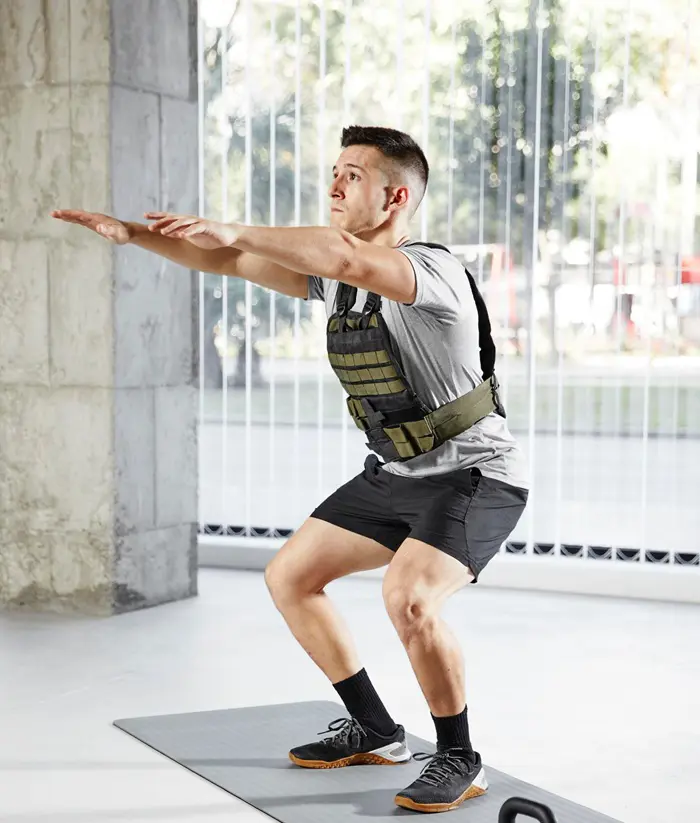
The small-range squat is a variation of the ordinary squat that typically ends at a partial depth, limiting the depth of the movement. This variation concentrates on strengthening the initial phase of the squat, whereas the full squat requires a deep bend in the hips and knees.
The added focus is often on engaging the piriformis and enhancing control throughout the squat movement.
Steps To Do It:
- Set your toes slightly outward and your feet shoulder-width apart.
- Keep your chest up and engage your core for stability.
- Lower your hips down and stop just before becoming parallel to the floor.
- Keep your knees tracking over your toes (not folding inward).
- Press through the heels to return to the initial position.
- Maintain good form and repeat for 20 to 25 reps.
6. Thread The Needle
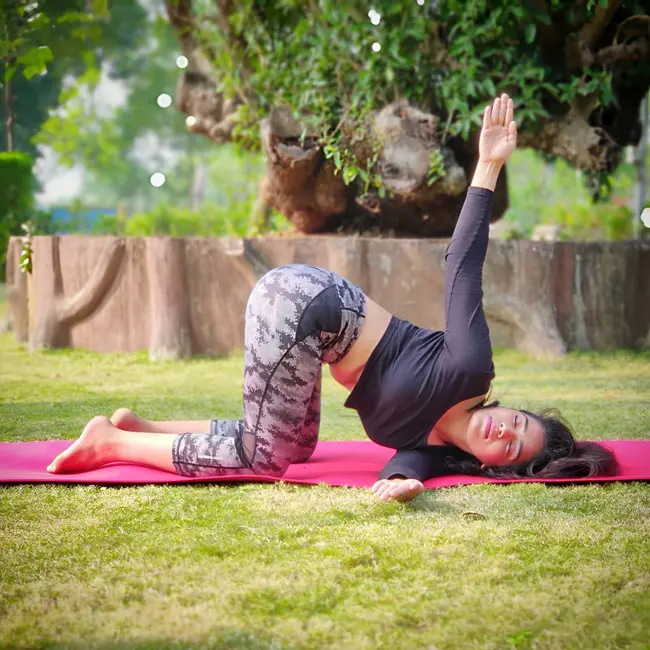
A delightful stretch that's ideal for winding your way into relaxation is "Thread the Needle". It provides a tranquil break throughout the day and is excellent for releasing tension in the piriformis muscles.
Keep your neck loose and your hips stacked to prevent unnecessary strain on the muscles. Deepen the twist by lightly pressing the palm on the mat for an additional stretch.
Steps To Do It:
- Place your knees beneath your hips and your hands directly beneath your shoulders.
- Open your chest and extend your right arm toward the ceiling.
- Bring your right shoulder and ear to the mat and slowly thread your right arm under the body.
- Keep the left hand on the floor for a deeper stretch.
- Hold the pose for 15 to 20 seconds while taking deep breaths.
- Repeat on the opposite side after returning to the beginning position.
7. Butterfly Stretch

The butterfly stretch effectively addresses the piriformis and the surrounding hip and thigh muscles. It allows for increased hip mobility and flexibility by slightly pulling your knees toward the floor and pressing the soles of your feet together.
It's particularly beneficial to individuals who spend a lot of time sitting or whose activities involve hip rotation.
Steps To Do It:
- Sit on the floor by extending the legs in front.
- Press the palms into the ground and let the knees fall outward.
- Bring your soles together to make a diamond shape.
- You should feel a stretch in your legs as you press the knees toward the ground.
- Breathe deeply and hold for 30 seconds.
- Perform 4 to 6 times by deepening the stretch a little more with each repetition.
8. Side Leg Lifts
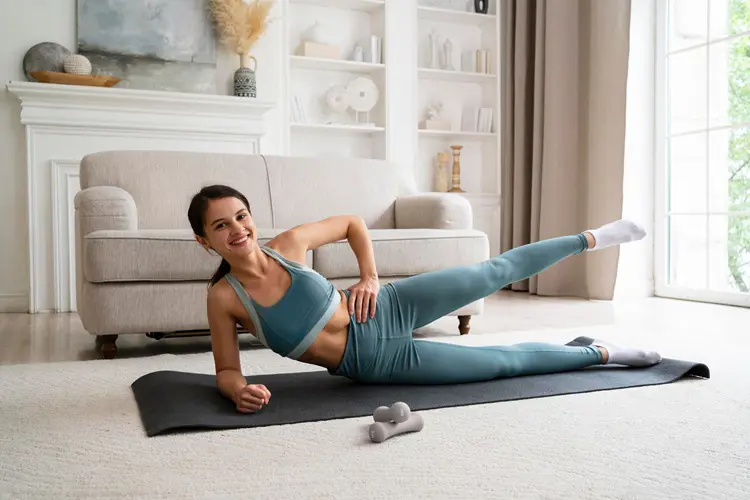
It is a straightforward exercise that engages the piriformis as well as the hip abductors. This exercise can also improve hip mobility and lower body strength. Moreover, it is a perfect complement to any exercise program for enhancing posture and balance.
Steps To Do It:
- Lie on the side and stack the legs on top of each other.
- Support your head with your lower arm by placing the top hand on the floor.
- Keep your body aligned by engaging your core.
- The top leg must remain straight as you slowly elevate it toward the ceiling.
- Hold the position for a moment at the top and slowly bring the leg back down.
- Switch sides after completing the required number of repetitions.
9. Pigeon Pose
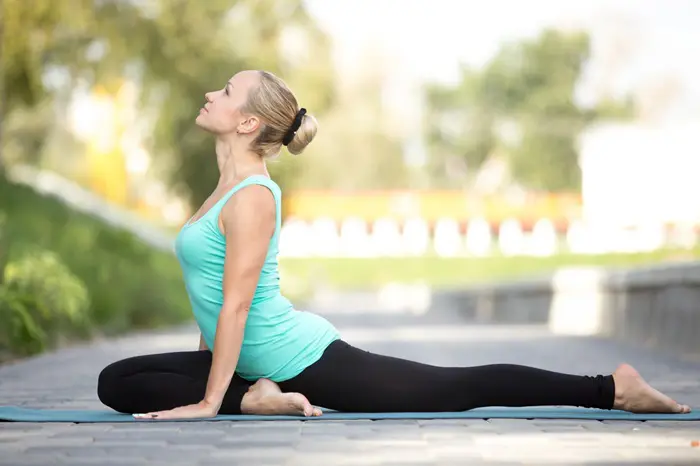
Aka Pada Rajakapotasana, the pigeon pose is a wonderful yoga stretch for relieving pain in the hips and legs. This powerful position focuses on the piriformis and hip flexors, helping to reduce stress and improve hip flexibility.
You might hurt your knees and lower back if you force your hips too deeply.
Steps To Do It:
- Make sure your spine is straight as you move in a tabletop position.
- Bring your right knee forward and position it behind your right wrist.
- Lower the hips to the floor by maintaining both hips squared to the mat.
- Gradually lean forward without exerting too much pressure.
- Keep the shoulders loose and the chest raised as you maintain the position.
- Turn sides and repeat after 20 to 30 seconds.
10. Fire Log Pose
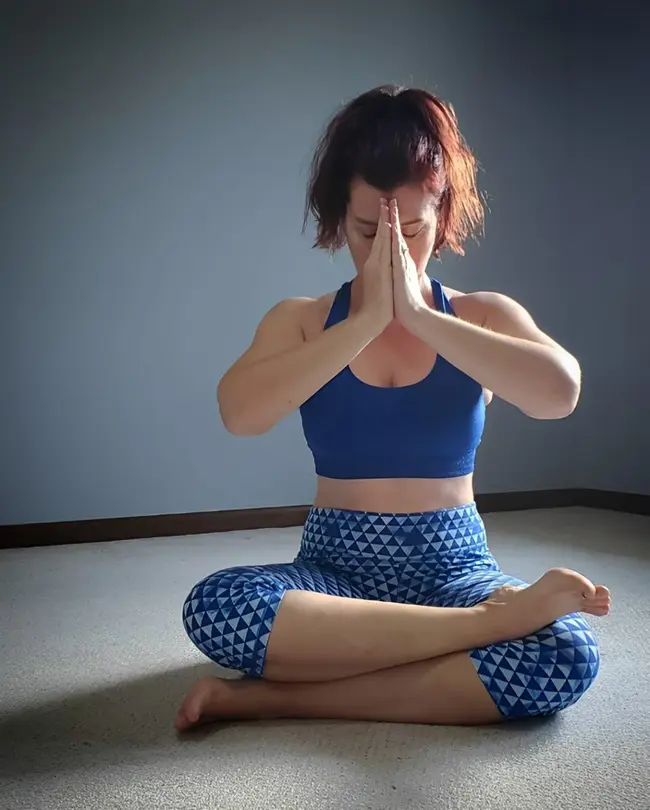
Fire Log Pose, also known as Agnistambhasana, is a popular hip stretch. It indirectly helps strengthen the piriformis muscles by effectively opening up the hips.
Steps To Do It:
- Start by sitting on the floor with the legs out in front.
- Place the right ankle on top of the left knee and cross the right leg over the left.
- Bring the left foot closer to the body by gently bending the left knee.
- Switch sides after holding the stretch for 30 to 60 seconds.
11. Child Pose
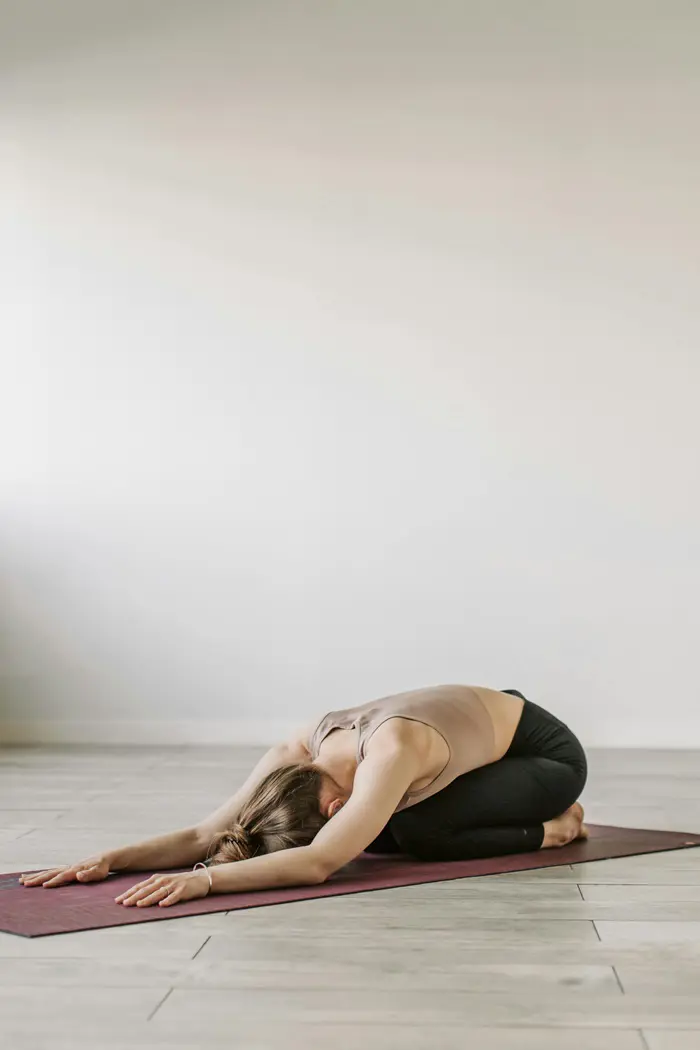
The yoga stance known as "Child's Pose" resembles how a kid would curl up to play or relax. It is among the best yoga poses you should learn because of its relaxing qualities. This pose may be as soothing as a nice sleep, whether you're stretching after working out or just trying to unwind.
Steps To Do It:
- Slightly bend the knees wider than the hips and kneel on the mat.
- Take a deep breath and place the hips back toward your heels.
- Stretch the arms forward and lower the chest to the ground.
- Bring your forehead to the floor, shut your eyes, and relax your body.
- Hold this pose for 20 to 30 seconds.
12. Knee-To-Chest Stretch
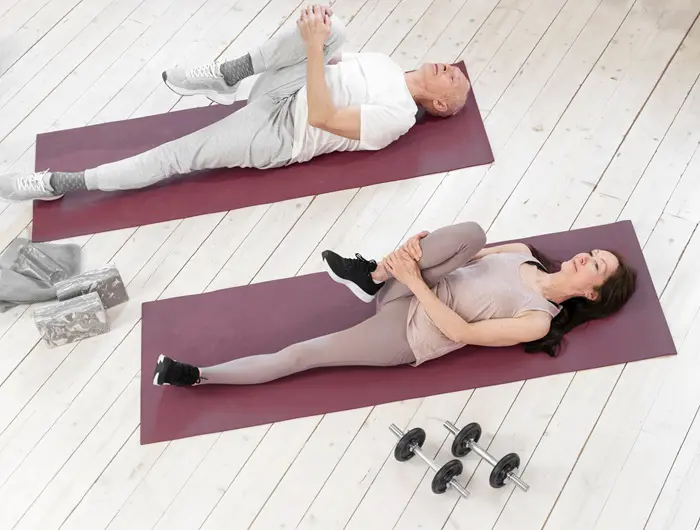
Knee-to-chest Stretch is great for improving the hip's range of motion and releasing lower back tension. It stretches the piriformis and hip flexor muscles at the same time.
Go nice and slow, focusing on tender spots to feel ultimate pain relief on the hips and legs.
Steps To Do It:
- Get cozy on your back and extend the legs straight ahead.
- Bend one knee up towards the chest while still keeping the opposite leg straight.
- Take hold of the stretch by grasping your knee or shin with both hands.
- Keep your back in a neutral position.
- Maintain the stretch for 15 to 30 seconds and then switch legs.
- Repeat the stretch 3 to 4 times for each leg.
What Causes Piriformis Syndrome?
Piriformis Syndrome is usually caused when the piriformis muscle becomes tight or inflamed and starts to press on the sciatic nerve. Symptoms can mimic sciatica and include severe or unbearable pain in the buttocks. This may occasionally cause tingling or numbness down the leg.
When these muscles become too rigid, they can affect the nerves and induce pain. This medical condition also occurs in cases of muscular imbalances, stress, and bad posture. However, stretches for piriformis muscles can help alleviate tightness and improve hip flexibility.
The problem must be treated early enough with adequate therapy and physical activities. Otherwise, neglecting it may lead to chronic pain.
Mistakes To Avoid
1. Overstretching
This involves forcing muscle movement beyond the normal range of motion, leading to strained or injured muscles. While it may seem tempting to try and stretch further for better results, forcing the body into an extreme pose may tear connective tissue.
Understand that your body needs to get stretched gradually. Hold each posture until you feel a gentle stretch without causing any pain.
2. Improper Posture
It is also important to maintain the right posture during the piriformis stretching exercises to avoid straining the muscles or joints. Poor posture may put extreme pressure on the piriformis and the surrounding muscles, which ultimately reduces the effectiveness of the stretch.
Improper alignment may also cause muscular imbalances and further induce tightness of the muscles.
3. Skipping Warm-up
Lack of warm-up before conducting piriformis pain exercises may eventually end up in muscle tightness or discomfort. Proper warm-up sessions can improve blood flow into your hips and lower back.
Spend 5 to 10 minutes warming up with aerobic exercise. This will allow you to get the most out of the stretches and lessen the chance of tearing a muscle.
4. Not Breathing Properly
Poor breathing while performing stretch of piriformis muscle might actually reduce the stretch's overall significance. Your muscles will not be in a position to relax completely if you hold your breath for too long.
Proper breathing techniques are also essential for promoting better oxygen and blood flow to the muscles.
Disclaimer: The information provided in this article is for educational purposes only. They should not be taken as medical advice.
Recent posts
Exercises
Exercises
11 Bicep Tendonitis Exercises And Stretches To Try At Home
If there’s inflammation in the bicep tendon, it could lead to a condition called bicep tendonitis. During this condition, we may experience pain in the upper arm and shoulder. The pain can restrict our mobility, and our day-to-day tasks will be...
Exercises
10 Trapezius Stretches To Release Muscle Stiffness
Responsible for rotating the scapula, the trapezius muscles are triangular in shape and located in the upper back. They also play a role in extending the neck and contribute to arm stability. Since this muscle does a lot of work, it can become stiff ...
Exercises
20 Different Variations Of Push Up For Beginner To Experts
Pushups are commonly practiced for building upper body strength - and for good reason. They could also be the very first workout we ever tried. No expensive equipment is needed, and it can be done from the comfort of our home. If we are getting bored...
Exercises
20 Squat Variations For Every Fitness Level
Squats have been a popular exercise for many fitness enthusiasts. They are effective for strengthening key lower-body muscles like the glutes, hamstrings, quadriceps, and calves. Practicing them daily can lead to a toned butt - an aesthetic goal for ...
Exercises
12 Golfers Elbow Exercises For Quick Pain Relief
Golfer’s elbow, aka medial epicondylitis, happens when the tendons connecting your forearm muscles to the bony inside part of your elbow get inflamed. This can cause pain and throw off your physical well-being. To tackle this, there are plenty ...
Exercises
11 Exercises To Gain Weight For Bulking Up At Home
Bulking up at home is possible with the correct exercises and a well-structured diet. You do not need any fancy equipment or a complex setup to perform these workouts. Focusing on compound movements and gradually increasing intensity will maximize yo...
